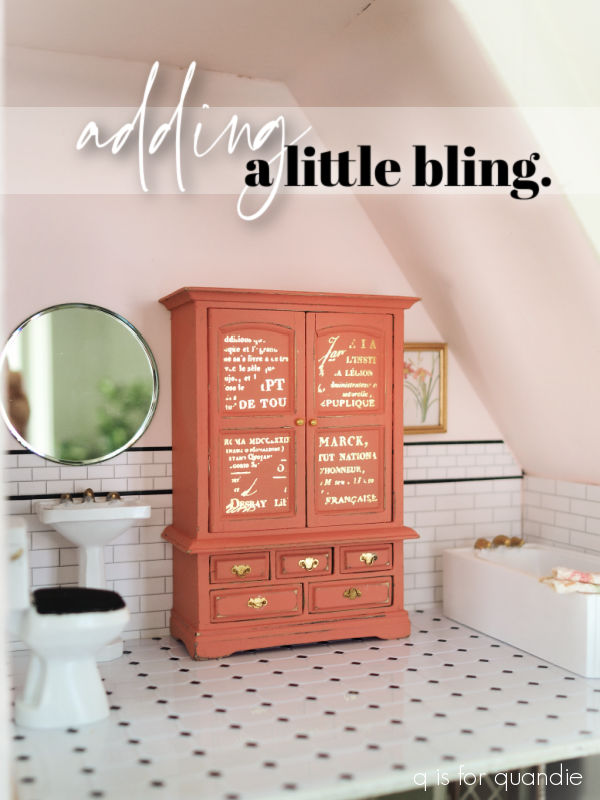
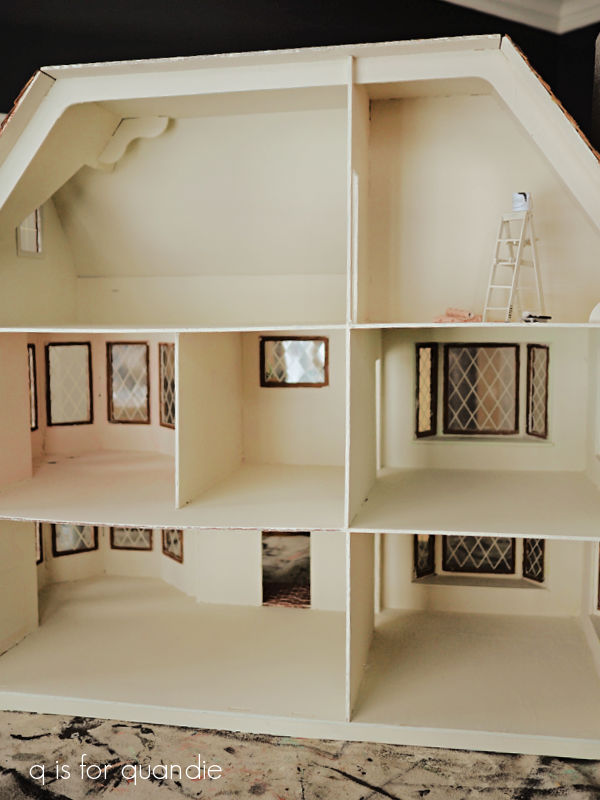
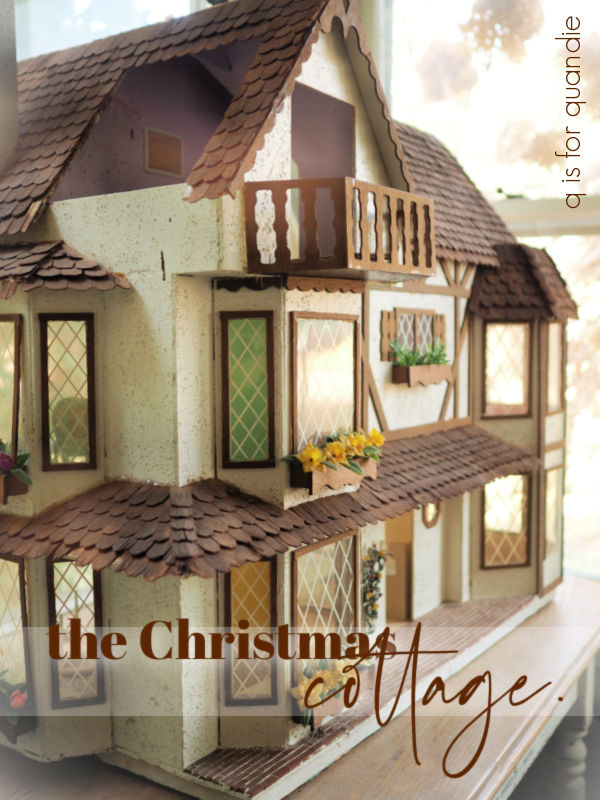
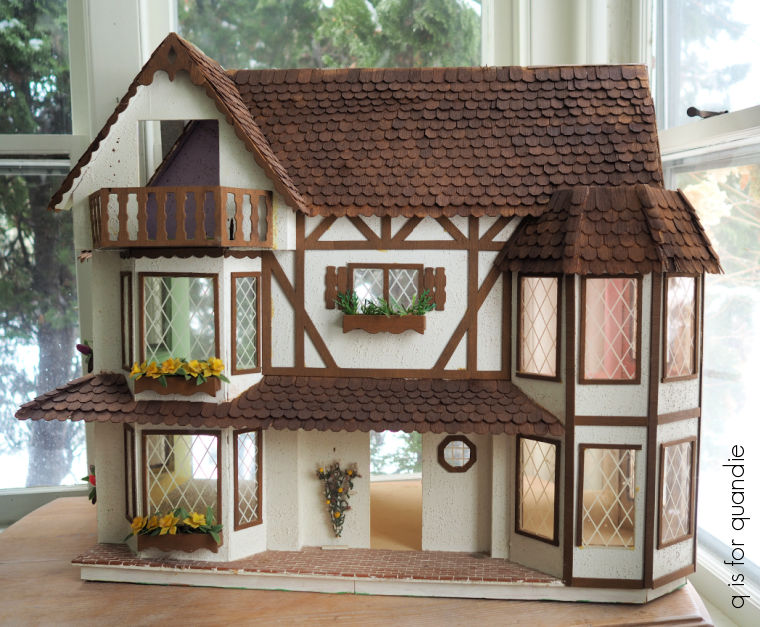
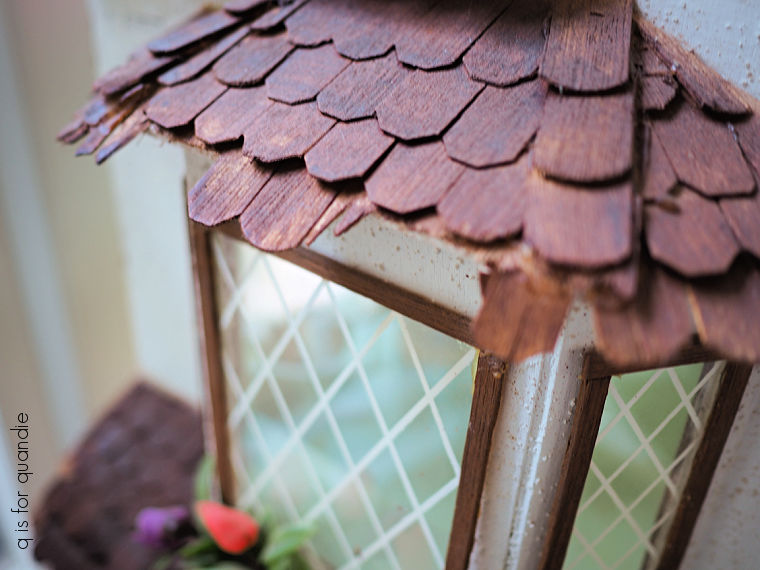
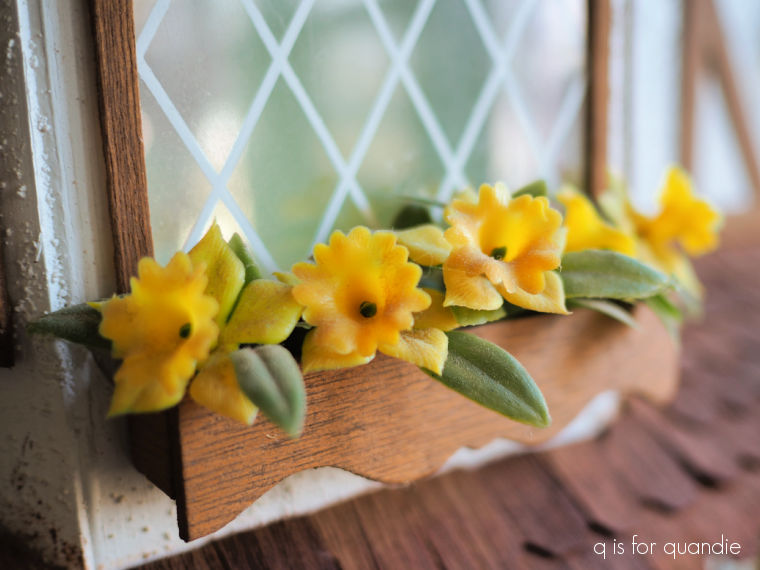
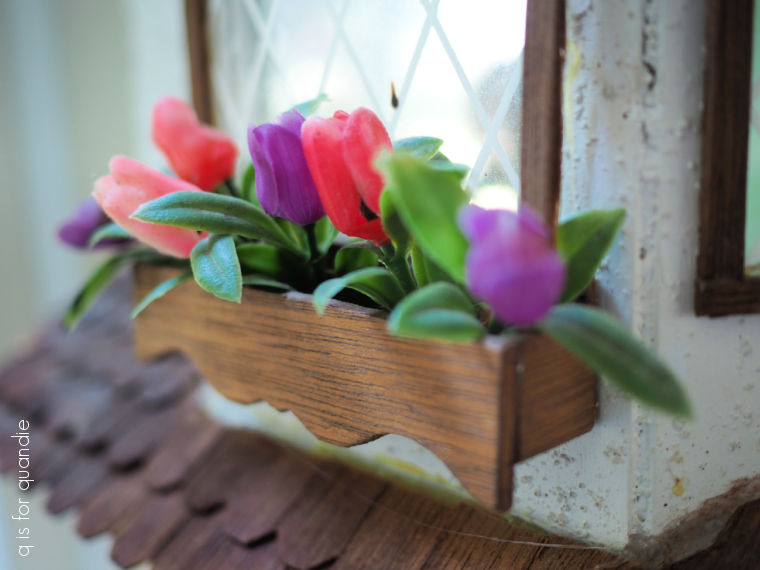
I had a feeling that once I took that first step of getting started on the Christmas Cottage refurb, everything would just start to fall into place.
And sometimes that just takes the right pink.
In this case, it’s Dixie Belle’s Pink Champagne.
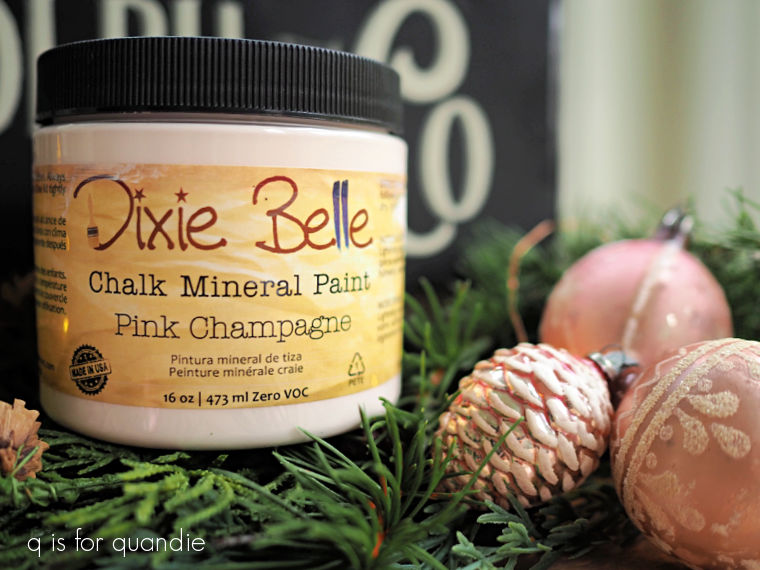
It’s a really lovely pale pink, much more subtle than the brighter pinks that the house came with …
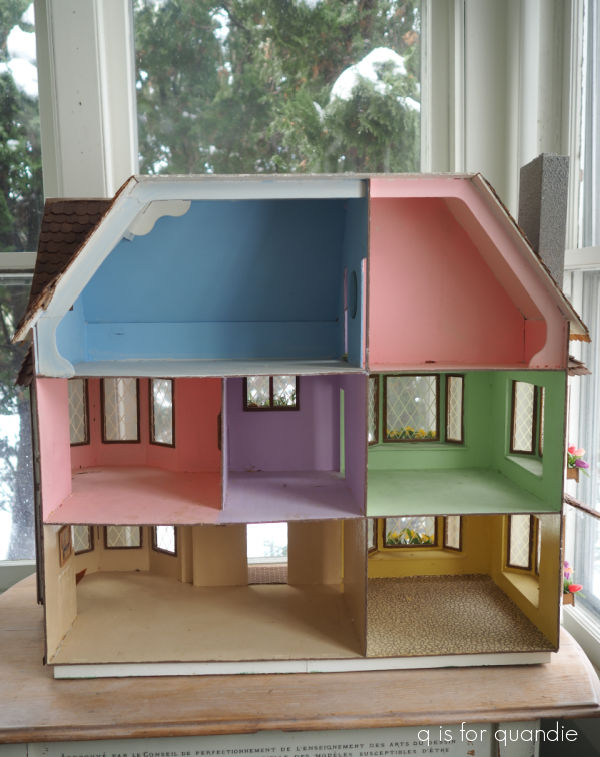
Those were more of a Pepto Bismol.
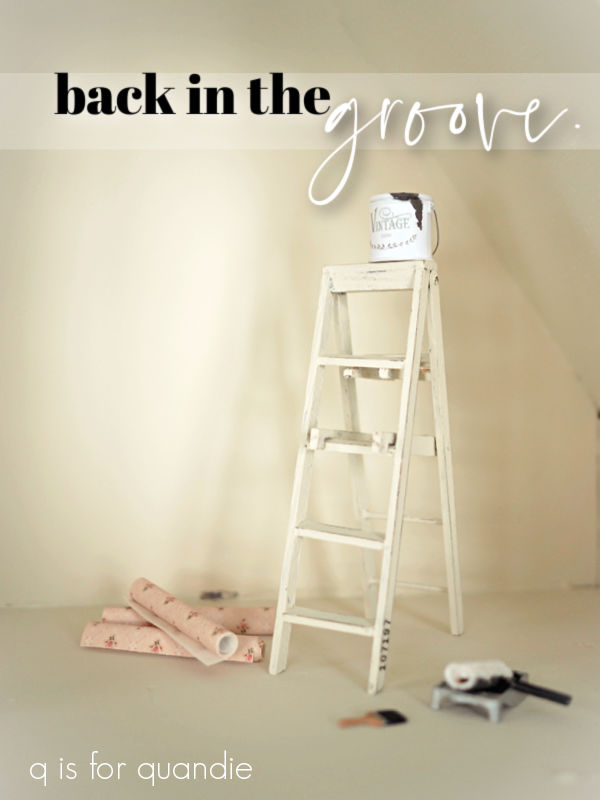
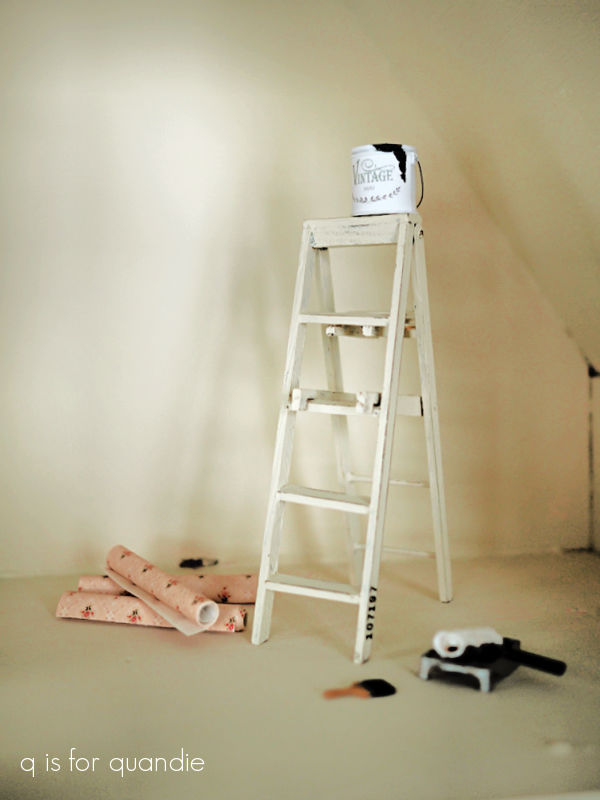
I’ve started on the third floor, and I painted both of those two rooms facing the back (there is a 3rd room on that floor, but you access it from the front of the house) in Pink Champagne. Once dry, I decided to try a technique that I learned from Julie Warren on YouTube. I’m not going to give you step by step instructions here, if you want that please check out her video tutorial here.
But basically, you piece together plain paper to create a template for your wallpaper.
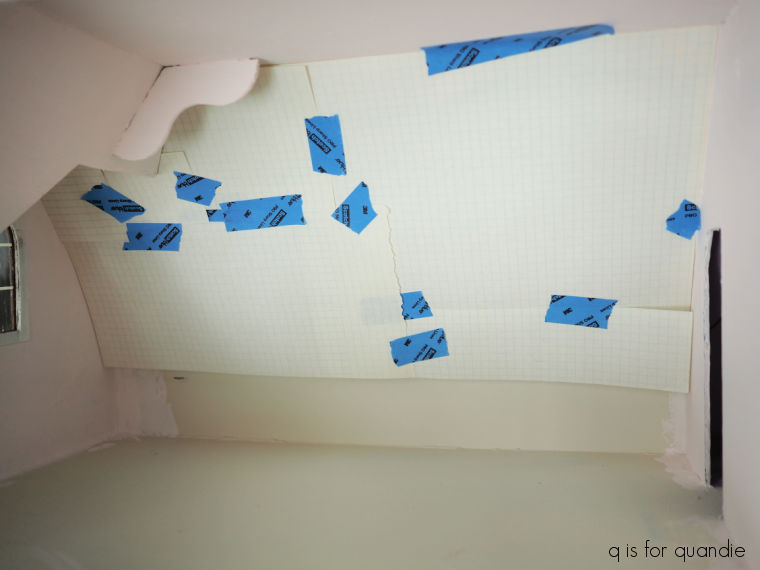
This allows you make cuts and adjustments without wrecking your pricey wallpaper. Then you pull that template off and use it to cut out your wallpaper to fit your wall precisely.
It worked beautifully!
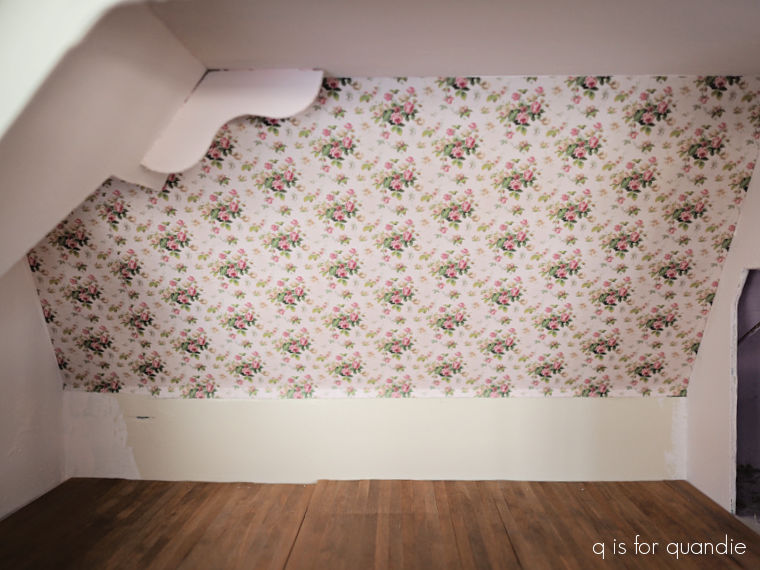
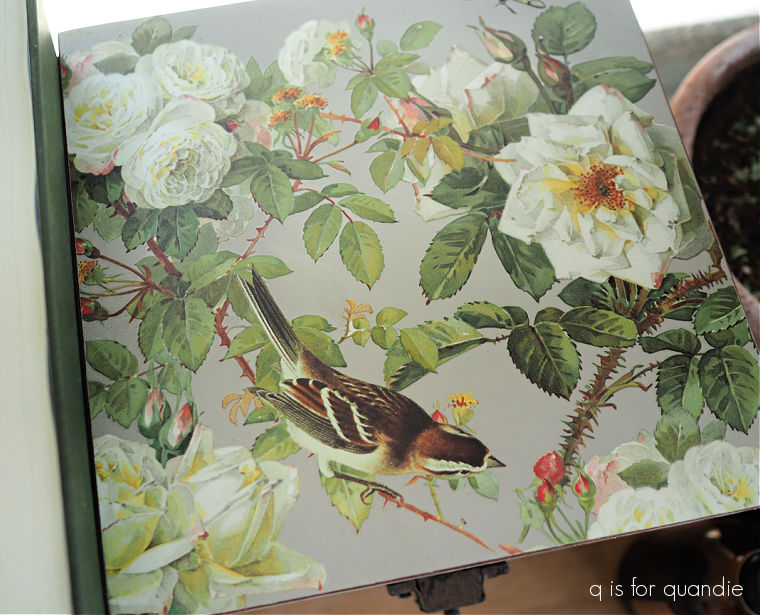
As you can sort of see, I had to cut around some weird stuff on the left side of the ceiling. Plus, it took two sheets of wallpaper to go all the way across, and I was able to get the repeat to work before I cut out the paper. There are a few rooms with funky angles in this house, and now I feel much more confident about wallpapering those rooms too.
I will point out here that the repeat on the wallpaper is not exactly right, by which I mean that you can’t put two sheets of this paper side by side and have the repeat work. You have to move the 2nd sheet up about 2″. That could potentially be an issue if the paper is just tall enough for your room. Just something to keep in mind if you are wallpaper in full size or in 1:12 scale.
Once the wallpaper was in place, I moved on to the flooring. Once again I used the pine wood flooring from Hobby Lobby. It comes in an 11″ x 17″ sheet for $7.49. Fortunately, I ordered half a dozen sheets of this flooring a few months back knowing I would need it for this project because now it’s out of stock online, FYI.
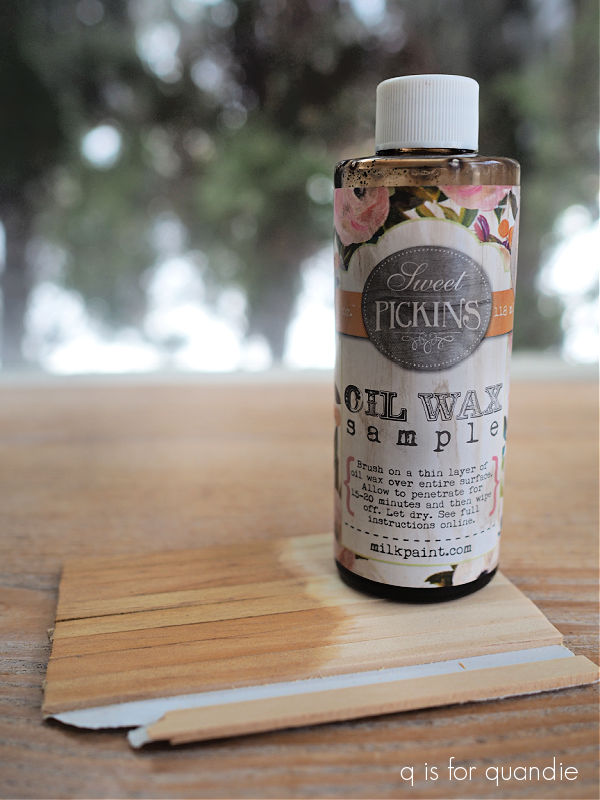
Once again I used the Sweet Pickins Dark Oil Wax to ‘stain’ the floor.
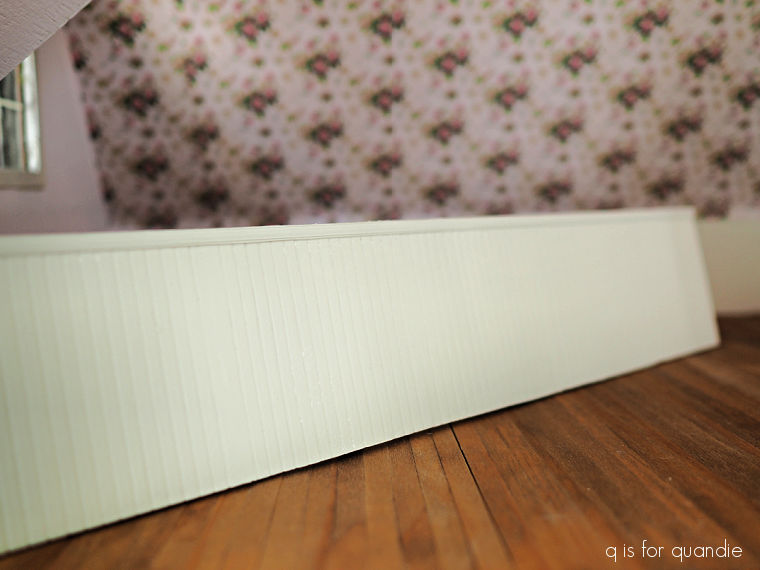
Next up, I decided to add some wainscoting to the lower, vertical portion of that back wall. I used the Mayberry Street wainscoting, also from Hobby Lobby.
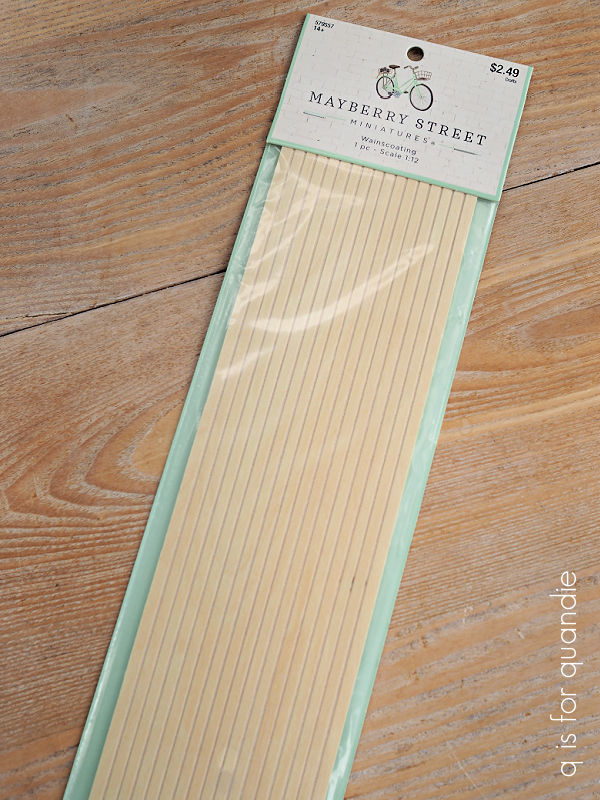
It comes in 12″ x 3 1/4″ sheets for $2.49.
Since I wanted my boards to run vertically, I cut two sheets into 3″ tall sections. Then I needed to choose a paint color.
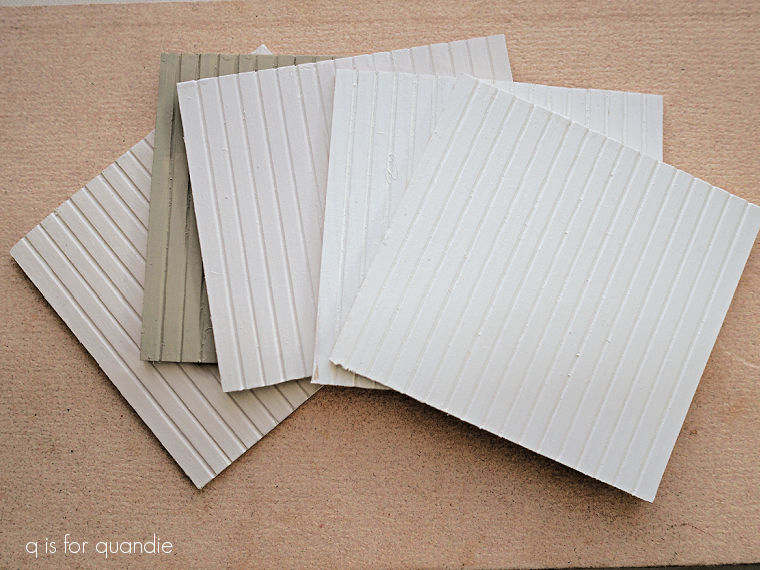
I was pretty sure I wanted white, and you’d think that would be simple, right? But no, I tried out my favorite Drop Cloth first and initially I didn’t think it worked well with the cleaner shade of pink on the walls. So I tested out three other shades of white plus Dixie Belle’s Wicklow Glen, a muted green, just to see if I would like it.
But in the end, I still went with Drop Cloth. I guess I’m just not a fan of brighter shades of white.
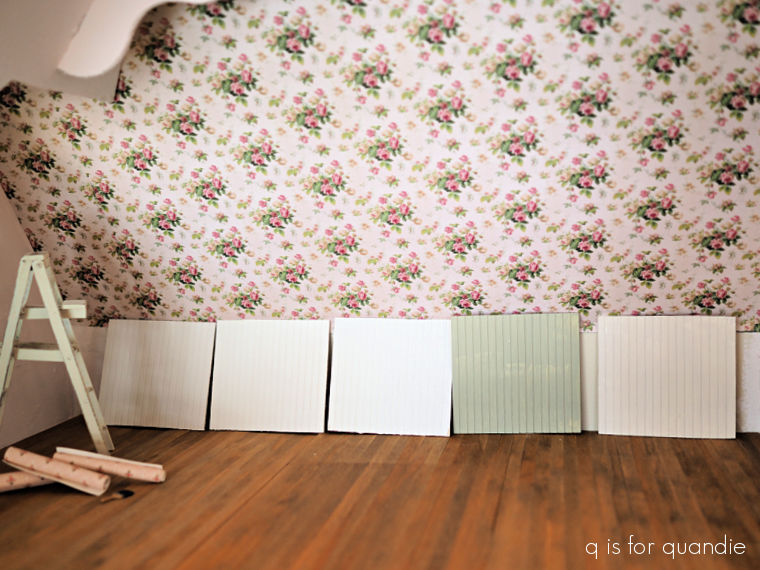
Once I had my sheets of wainscoting painted, I realized I had a little bit of an installation predicament. If I just glued them straight to the wall, it would be difficult to get them to line up perfectly and hide any seams. I also needed to add a bit of trim across the top to finish them off, and I thought that would be harder to do in place.
So I ended up cutting a piece of foam core board to fit that back section of wall. Then I constructed that whole wall of wainscoting by gluing everything to the foam core board. It was easy to add the trim and clamp it in place. I also used some of Dixie Belle’s Mud in white to camouflage the seams between each section.
After then adding a final coat of Drop Cloth, it was easy to just pop the whole thing into place.
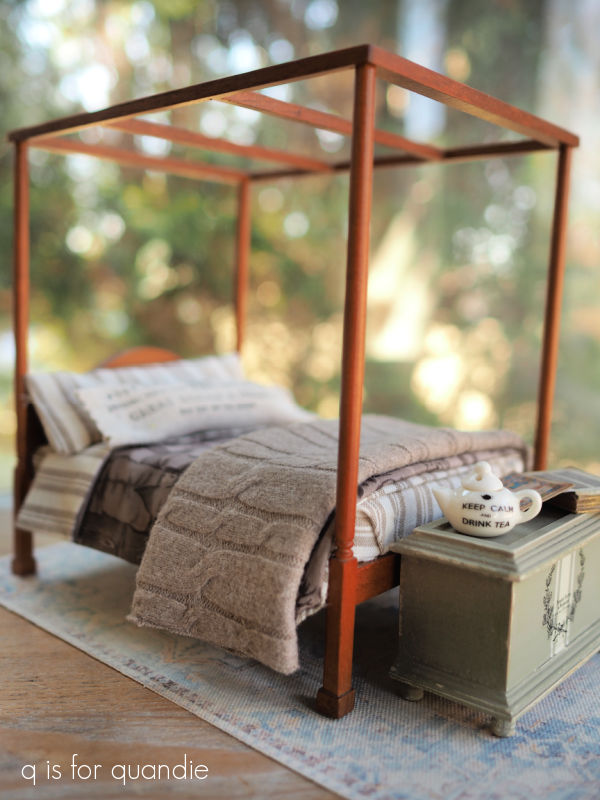
To add one more fun touch to the room I decided to use a barn style sliding door that I painted up a while back. I shared this door with you a year or so ago in this little vignette …

I hadn’t really found a permanent home for it, so I pulled it out to try in this room and it worked perfectly
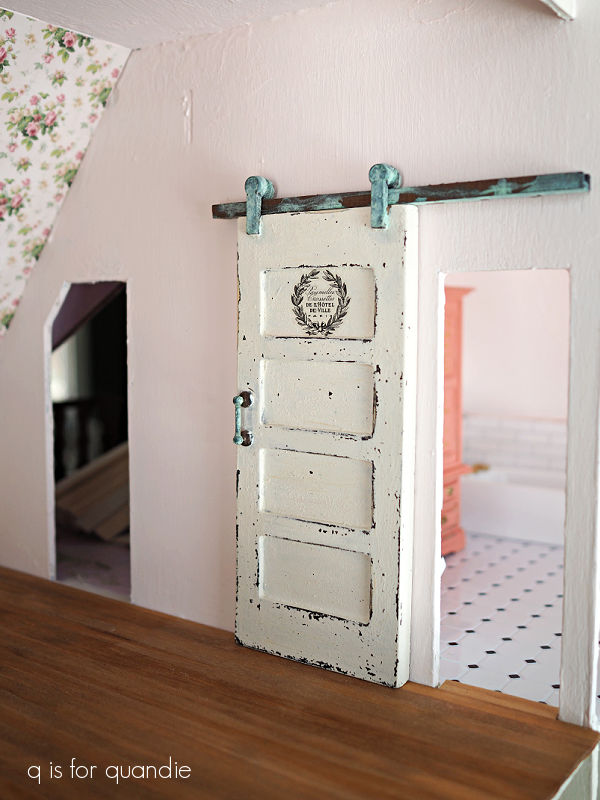
I gave the hardware its verdigris look using Dixie Belle’s Patina Paint in Copper with the blue activating spray.
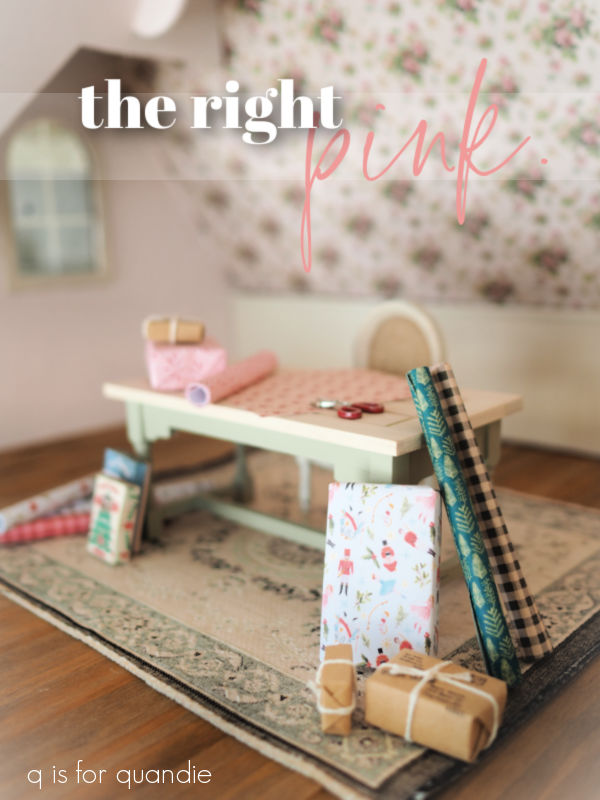
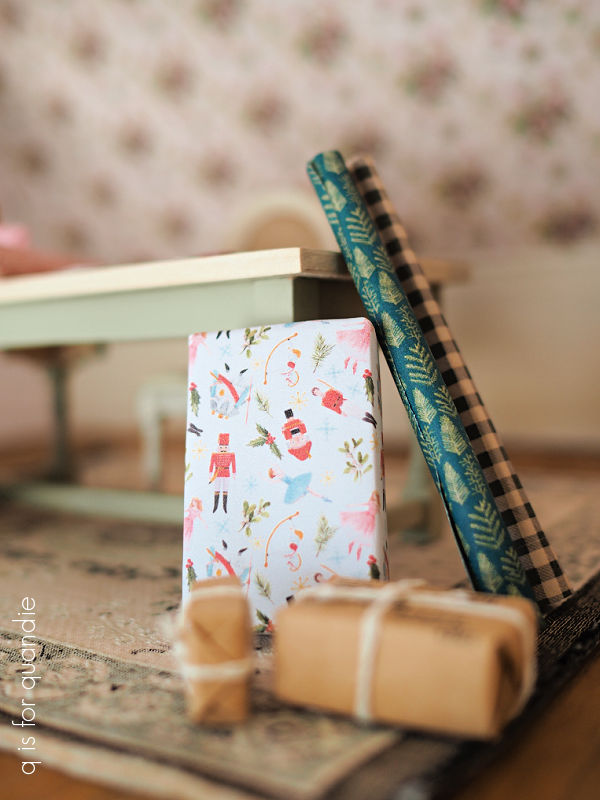
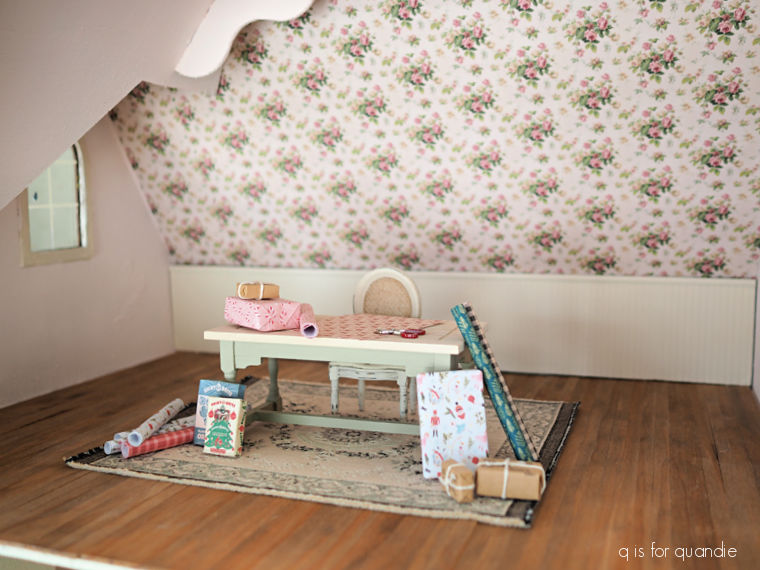
After giving some thought to what the purpose of this attic space might be and how I wanted to stage it, I landed on it being a craft room. And since this is a Christmas Cottage, one might use their large craft table to wrap Christmas presents, right?

I purchased some downloadable mini gift wrap on Etsy, printed it out and then rolled it up into rolls and wrapped a couple of small packages.
The table is one that I already had on hand, but also never found a home for. Since I liked how that Wicklow Glen color worked with the wallpaper, I decided to use it on the base of the table.
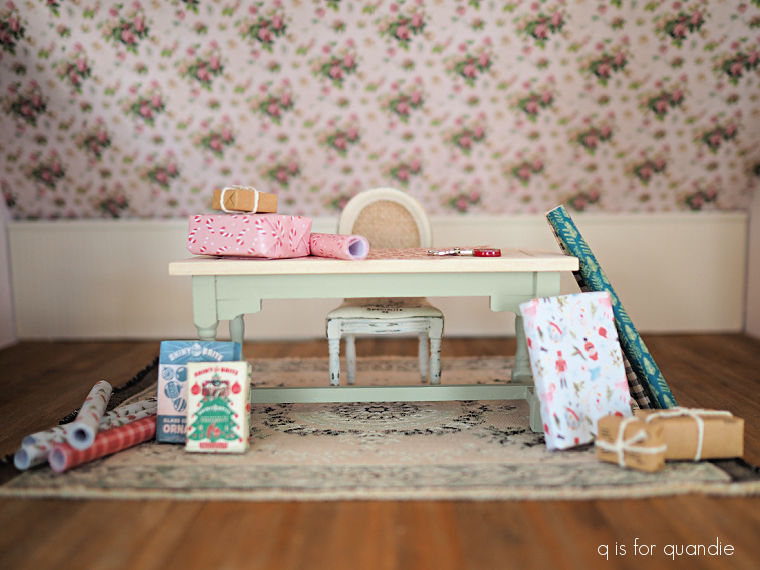
The top of the table already had a Drop Cloth wash on it.
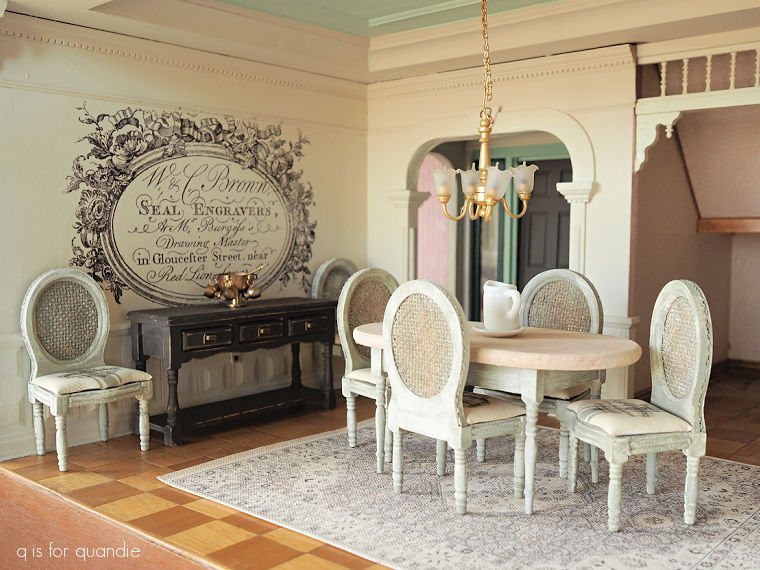
The rug and chair were also pieces that I already had on hand.
And with that, I’m calling the first room complete.
I realize that the room looks a little bit bare, but that’s because I definitely do not plan to keep this dollhouse for myself. Hopefully a future owner can expand upon the theme and create a full-on craft room … or whatever else they might want this room to be.
In the meantime, what do you think? Leave a comment and let me know!